
Doing laundry isn’t the most fun thing to do….trust me, we get it. However, having a problem with your washer or dryer makes the task even more unbearable.
We want to help keep your equipment up to par so that you can be as efficient as possible when it comes to doing the laundry.
If problems are neglected it can result in pre mature breakdown and lead to more costly repairs….or worse, maybe a new unit. Not to mention the extra power consumption that is used when the units are going bad.
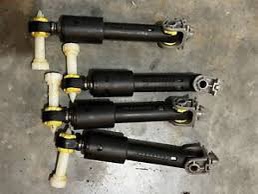
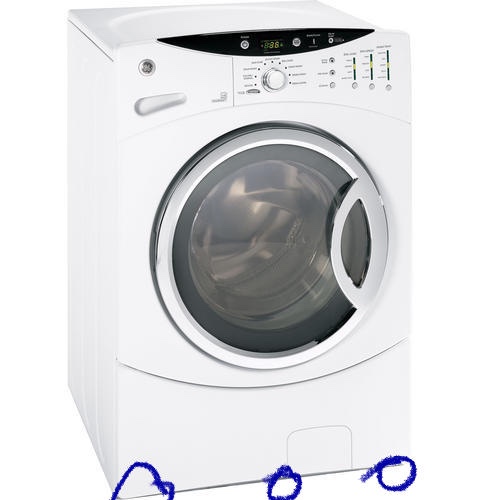
Let’s talk about the washing machine shock absorbers. They are designed to help keep the washing machine stable while turning wet heavy clothing in the drum. With out the shock absorbers, centrifugal force will take over and the machine will begin to wobble violently.
Most front load washing machines have 4 shock absorber connected to the tub. There will be one on each corner for maximum support.
You may be able to still run the unit if just one of the shock absorbers breaks or comes loose. You would still notice more vibration than normal but it may not catch your attention. Eventually the unbalance motion from one will cause the other shock absorbers to break.
If there is more than one broken shock absorber, thump, thump, thump…..that is all you will hear when trying to run the machine once all the clothes inside are wet and heavy and the tub is full of water.
Don’t worry it’s not the end of the world and it’s a pretty easy to fix. We will guide you through the steps.
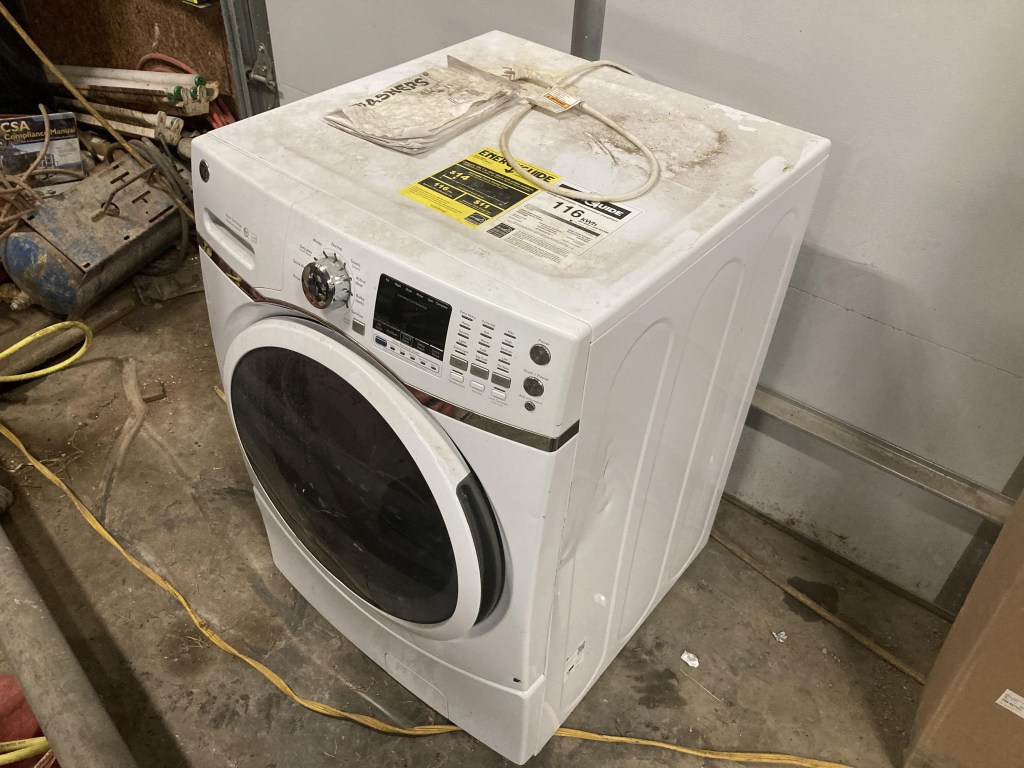
Safety first! If you are not comfortable and confident with doing this repair, please reach out to a professional. If you want to try it yourself then the first thing that needs to happen is you need to unplug the washing machine.
Next your going to want to drag it out where you have access all the way around the machine. The tools you will need is a pair of pliers and a phillips head screwdriver.
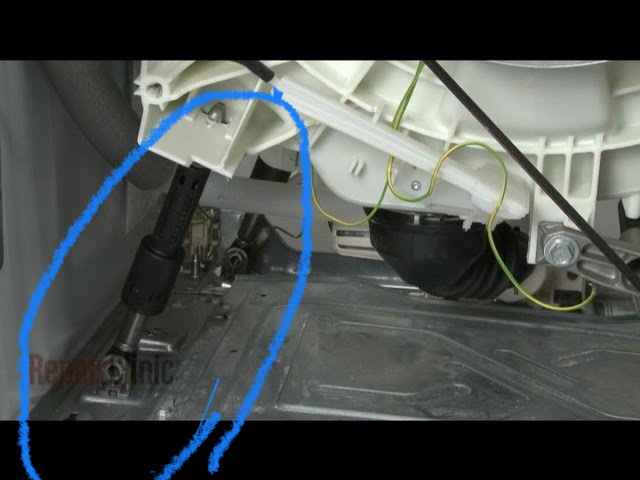
Now we need to take the plate of the back to gain access to the back shock absorbers.

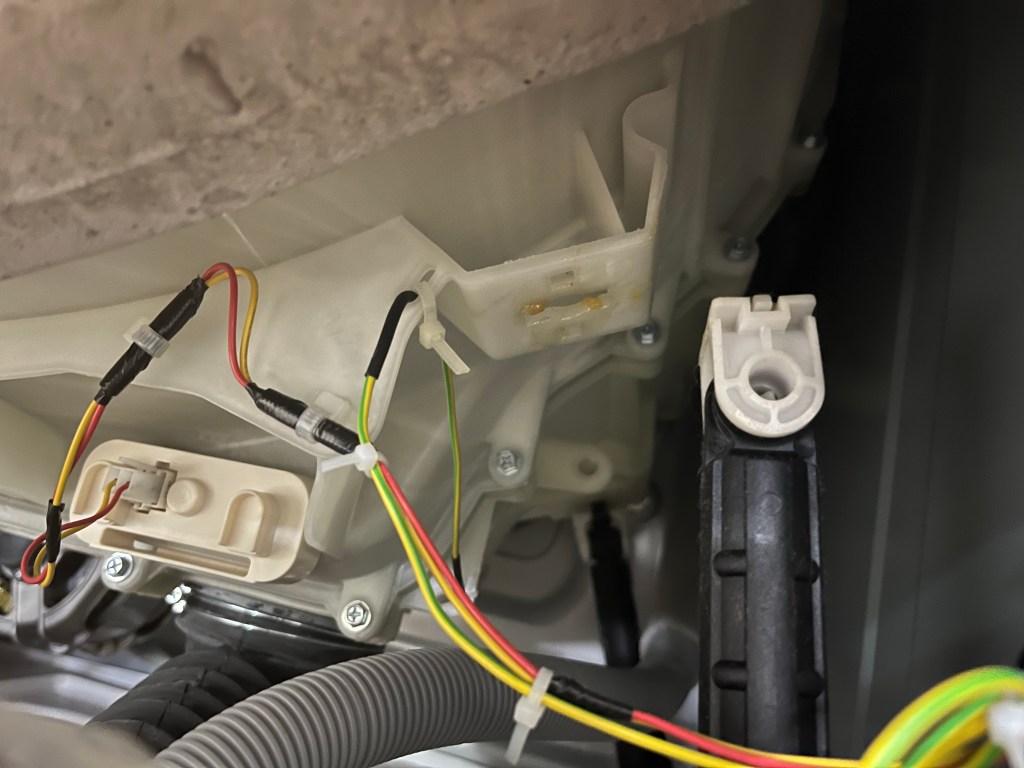
Once the cover is off, this is what you are looking for

The change the shock absorbers there is a white plastic pin at the base of the absorber. With the plies simply pull the pin out.
Once you have the old ones out you have to put the new ones in. It’s easier to put the top clip in place then align the bottom holes up and slip the pin back in.
To get to the front shocks you will have to remove the front cover. There is 3 screws that need to be took out to get the cover off.
After the cover is off you may want to tilt the unit back and put a piece of 2×4 under to prop it up. This will allow you more room to get the shocks out.
Now this is not a hard job but you do need to be a little mechanically inclined to take on the task. And, as always becareful and don’t do anything that you don’t feel comfortable with. Consult a professional if needed, but now you will be in the know of what there doing.